
Did you know it’s easy to make homemade nut milk for your smoothies and you can make it with just about any nut you can lay your hands on? I’ve given you the recipe for homemade coconut milk in a couple of earlier posts. (For the most recent see: 4-Ingredient Coconut Strawberry Smoothie)
Today we have 3 other flavors of nut milks for you to try.
The recipes come from Lindsay Landis at LoveAndOliveOil who says …
If you’ve ever looked at the ingredients actually in almond milk, it’s rather… long. Does it really need to be that way? Do we really need guar gum and carrageenan and lecithin? In general, these additives are mostly preservatives, thickeners, and stabilizers, homogenizing the mixture and thickening it to more resemble cow’s milk. Without these additives, nut milk will separate.
But you know what? All you have to do is shake it. Is that really so hard …
Recipe: Homemade Nut Milks – Plus 3 Flavors
All you need to make homemade nut milk are 2 ingredients: nuts and water. You’ll also need a blender and a nut milk bag (funny name, amazing tool) [or a clean tea towel or a large piece of muslin or cheesecloth]. Additions such as sweeteners and flavorings are entirely optional. In general, 1 cup of nuts will yield 4 cups of nut milk, though you can add more or less water depending on how thick and creamy you want your nut milk to be. This basic recipe can be used for any kind of nut (I have not tried walnut or pistachio but I imagine the same holds true).
Almond milk is my standard, but lately I’ve been playing around with different varieties of nuts and added flavorings to make things a bit more interesting.
The Nut Milk Basics
Makes about 4 cups
Ingredients:
1 cup Nuts, your choice (hazelnuts should be peeled, for other nuts this is optional)
3-4 cups Water, or as needed, plus more for soaking
Optional sweetener, such as Dates or Maple Syrup
Soak overnight, rinse, blend and strain – that’s all folks, it’s that simple.
(And use the nut meal in other recipes!)
Refrigerate for up to one week.
For more detailed directions see Lindsay’s website – link below.
Recipe: Flavorings for Homemade Nut Milk
Serves
Ingredients:
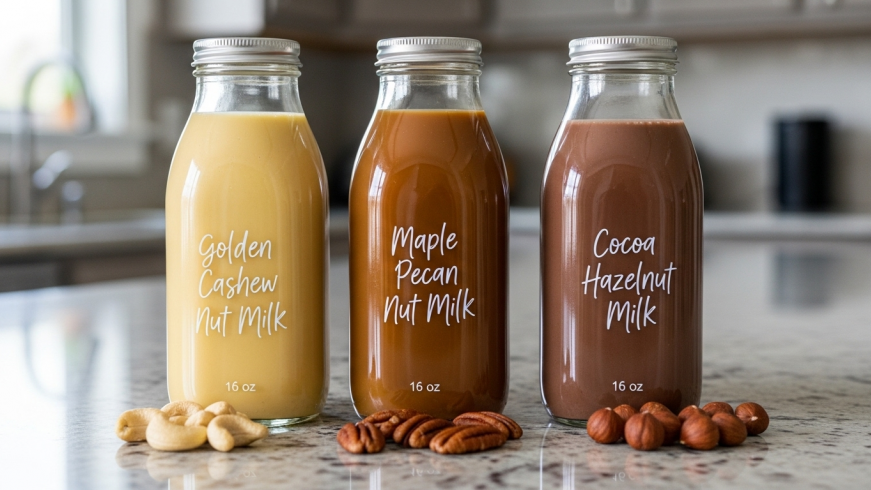
For Golden Cashew:
1-inch piece fresh Turmeric, peeled
1 tablespoon Maple Syrup, or to taste
1/8 teaspoon ground Cinnamon
pinch or two ground Turmeric, if desired
pinch Sea Salt
For Cocoa Hazelnut:
4 pitted Dates, coarsely chopped, or to taste
2 tablespoons unsweetened Cocoa powder
pinch Sea Salt
For Maple Pecan:
2 tablespoons Maple Syrup, or to taste
pinch Sea Salt
Source: LoveAndOliveOil
Photo: DrinkMeHealthy
.


Write A Comment