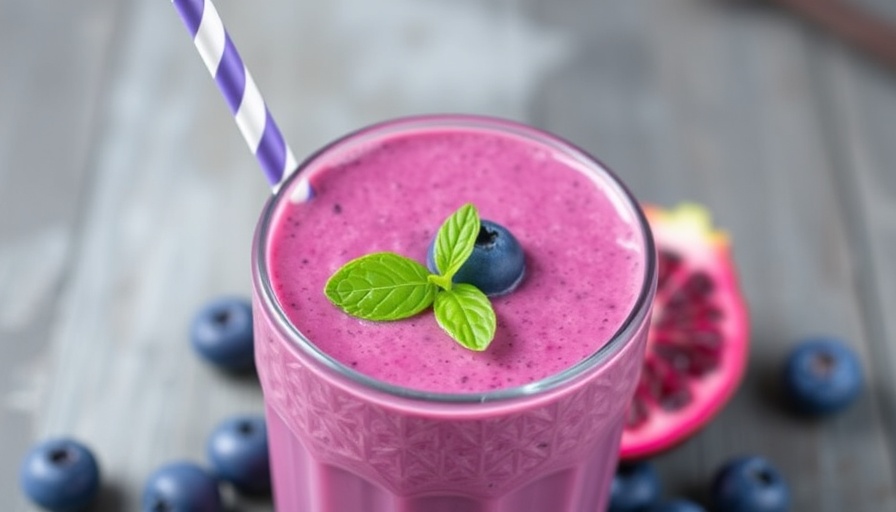
This is novel! A layered multi-colored smoothie – loks like a stop-light! The perfect healthy breakfast, snack or dessert.
According to minimalistbaker.com, she made this smoothie because… “sometimes you need to break out of the mundane and turn your breakfast into something fun like a stoplight. Or a cookie. Or a muff-cake.”
No need for breakfast to ever be mundane…
I’ve included the preparation instructions below with the recipe since they spell out the steps to get the layers. It turns out to be very easy…
Check out the recipe below and let me know how you like it…
The inspiration for this smoothie is none other than my favorite fruit at the moment: MANGO. The base is frozen mango – I bought mine fresh, chopped them up and froze them – then with each layer you introduce a new flavor. In this case it’s strawberry and spinach. But overall, the mango is the dominant flavor. Hooray!
As to how you get that layered effect, simply blend your mango base and pour half in the glass; then add strawberries, blend and pour it on top, and lastly add a handful of spinach, blend and pour it on top. BOOM. Yellow, red, green! Stoplight smoothie for the win.
On to Next Page for the recipe…
[nextpagelink][/nextpagelink]
Recipe: Layered Mango Stoplight Smoothie
Ingredients (Serves: 1; Calories: 289)
- 1.25 cups frozen mango pieces
- 1 cup frozen strawberries
- 1 cup fresh spinach
- 1 cup water / almond milk (I used half and half)
- optional sweetener: frozen banana, honey, stevia or agave
Instructions – How to get the 3-layered effect
- Place mango into a blender with milk or water and blend until smooth, adding more mango to thicken and more water or milk to thin.
- Pour 2/3 of the smoothie into a serving container and then add strawberries to the blender. Blend until smooth, adding a bit more water or almond milk if needed. Taste to see if it needs sweetened. I added 1/2 a small frozen banana at this point.
- Pour 3/4 of the smoothie into the serving glass on top of the mango layer.
- Lastly, add spinach to the blender and blend until smooth. Pour into the serving glass, making three distinct layers.
- Sip and enjoy, or freeze for later.
Source: minimalistbaker.com
Photo courtesy minimalistbaker.com
If you enjoyed this post, thanks for spreading the love – Like it and Share it with your friends…
 Add Row
  Add
Add 


Write A Comment