
I just ran across this cool article which gives the most comprehensive intro to smoothies for weight loss that I’ve seen anywhere. The author – Chantelle Zakariasen covers a TON of healthy weight loss smoothie principles and recipe ideas.
Since there’s quite a bit of detail in this one, I’ll probably break it down into a mini-series over the next few days.
You’ll get some great new ideas to add to your own smoothie making plans.
As Chantelle says ...
You may have caught on to the smoothie buzz that’s been humming in high frequency the last few years.
People everywhere are learning the usefulness of drinkable nutrition, and embracing the fact that smoothies are easy and nutritious.
Smoothies are adaptable, you can use what’s in season, add superfood or supplements, all with minimal prep work.
In a busy modern world, where we need the power of fruits and vegetables more than ever (1)(2), smoothies are a hot commodity.
For those of us who feel we could be eating more raw foods, smoothies are a great place to start.
Healthy Smoothies for Weight-Loss Mini-Series Topics:
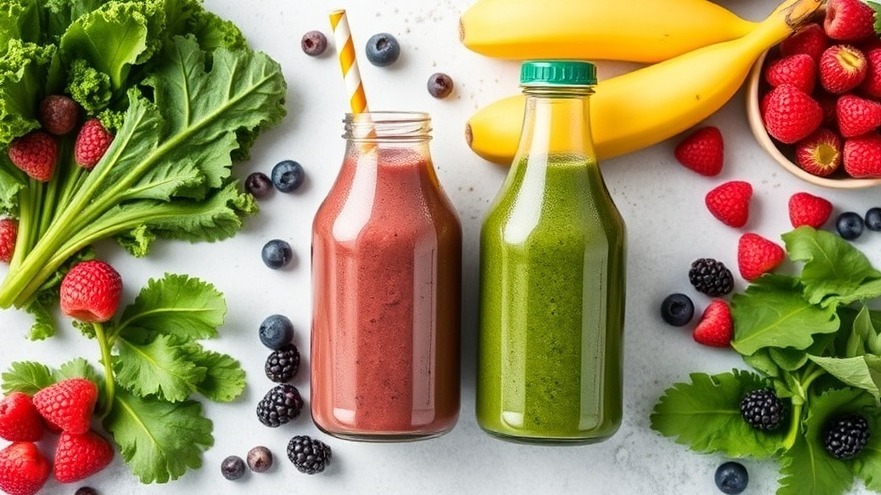
Green Smoothies vs. Fruit Smoothies
Benefits of Drinking Your Nutrients
Targeted Smoothie Recipes for Any Ailment
Superfood Smoothie Additions
Getting Started with Smoothies
“Six of the Best” Smoothie Recipes
Look out for these topics over the next few days.
Green Smoothies vs. Fruit Smoothies
According to Chantelle, the dual challenges we typically face are that most of us fail to eat anywhere close to enough vegetables, and that too much fruit means we consume far more sugar than we ought to.
I think everyone has a hard time eating 4-6 servings of vegetables every day (7), especially green leafy ones.
Yet the benefits of green foods are under appreciated, the amount of minerals in hardy greens like collards and kale are more than most other foods.
We can get these superfood into our life in an easy and delicious way when we just pop them into our smoothies.
…
Fruit smoothies aren’t necessarily bad, they’re better than say a milkshake from your favorite fast food joint.
However, there’s still a lot of sugar in fruit, and when your trying to heal your body, improve your energy and digestion, sugar isn’t your best friend.
Instead, you can still enjoy the benefits and tasty sweetness of your favorite fruits with a few green foods thrown in.
So what should we do about this?
Recipe: Basic Daily Green Smoothie
Ingredients:
3/4 to 1lb. assorted Greens- kale, chard, spinach, collards…
1 1/2 cup mixed frozen Berries
1 Banana
Water to cover
Add all ingredients to your blender and puree until smooth, add more or less water to achieve your desired thickness.
Optional Additions
Hempseed or Flax oil
Coconut Oil
ground Flax or Chia
Super Foods
Protein Powder
Almond Butter
Watch this space for the next article in the mini-series.
If you prefer to see the whole article right away, here’s where to go: Chantelle Zakariasen of rootandsprouts.com
Photo: DrinkMeHealthy
Thanks for visiting us on DrinkMeHealthy.com
If you enjoyed this article please Share and Like our Facebook page. Thanks!


Write A Comment